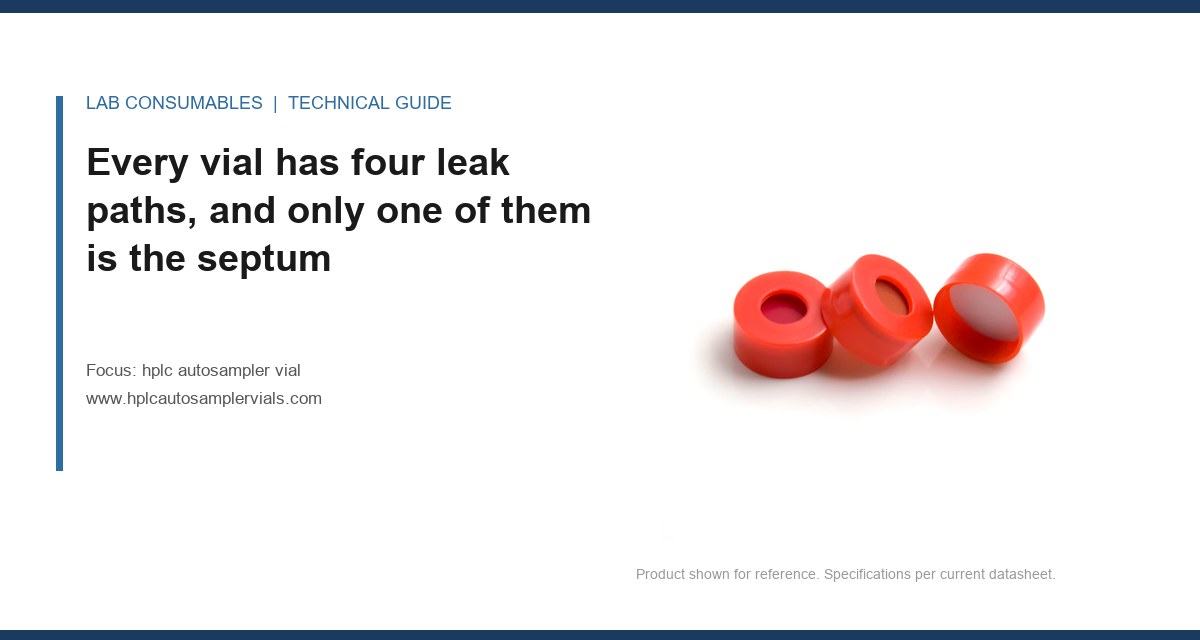
A 12-hour overnight run on a Waters Alliance came back with the internal standard area down 18% on the last six injections and the retention times drifting late by 0.04 min. The method had passed system suitability at 6 pm. Nothing on the instrument had changed. The vials were 9 mm screw-thread, capped to what the analyst called “finger tight,” and the septum was a 1 mm silicone/PTFE sandwich. That combination, on a 30 °C tray with the heater cycling, is where I start looking for hplc autosampler vial seal failure. Sample loss from a vial is not usually a dramatic blowout. It is a slow, monotonic decline in peak area that looks exactly like a degrading detector lamp until you weigh the vials.
This is the narrow problem of vapor escape and re-seal quality at the septum, and how to prove it with a balance instead of a hunch. If you want the broader product context, the HPLC autosampler vial reference covers formats and dimensions. Here I am only interested in what happens to the contents after the needle withdraws.
When people say “the seal failed,” they usually mean the septum. In practice I have traced loss to four distinct paths, and the fix is different for each. You cannot fix a neck-finish problem with a better septum.
- Needle track through the septum. The puncture leaves a slit, not a round hole. Silicone tries to close it; PTFE does not. This is the path most people think of first and it is often not the dominant one.
- Septum-to-cap compression. The septum is held against the glass land by the cap’s internal shoulder. If the cap is not torqued or crimped to spec, the seal is between septum and air, not septum and glass.
- Cap-to-neck finish. A screw cap that is under-torqued backs off with thermal cycling. A crimp that is under-crimped lets the whole cap assembly lift. The neck finish dimensions (the 9 mm or 11 mm land geometry) have to match the cap.
- Glass body and neck. Rare, but a chipped neck land or a check crack at the shoulder will bleed solvent no matter what cap you use.
The septum gets the blame because it is the visible part. In my logs, roughly 60% of real evaporation cases trace to cap torque or crimp geometry, not septum chemistry. That single number changes how you troubleshoot.
A punctured silicone septum re-seals to about 85% of its original integrity, and that is enough to lose your light analytes
Re-seal behaviour is the part most guides skip. A 1 mm silicone septum on a 9 mm cap, punctured once with a 23-gauge needle (0.64 mm OD), does close. The slit relaxes and the two faces come back together under the compression the cap provides. But it does not return to virgin. Measured by pressure decay, a single puncture typically costs 10 to 20% of the seal’s resistance to a 0.5 psi differential. Five punctures in the same spot and you are closer to 40% down.
That matters because the loss rate through a slit scales with the vapor pressure of the analyte and the partial-pressure gradient across the septum. Methanol at 30 °C has a vapor pressure around 21 kPa. Acetonitrile is lower. Water is negligible. So a method in 50:50 methanol/water loses far more than one in water, and the loss is selective: your early-eluting volatile analytes go first, which is why the internal standard (often a mid-polarity compound) drops before the main peak does.
Why PTFE-faced septa do not save you here
The PTFE film on a silicone/PTFE septum is there to stop the silicone from extracting into the sample and to give a chemically inert face. It is 0.05 to 0.13 mm thick and it does not re-seal. Once the needle punches it, the PTFE stays deformed. The silicone underneath does the re-sealing work. So a PTFE-faced septum re-seals exactly as well as its silicone core, no better, and slightly worse at the PTFE/silicone interface where the two layers can separate. If you are chasing evaporation, do not assume the PTFE face is helping. It is helping with extractables, which is a different problem.
Compression set is the number that predicts whether a septum survives a long run
Compression set is how much a material fails to spring back after being squeezed. For autosampler septa it is the single best predictor of re-seal quality after multiple punctures and hours under the cap. A good silicone septum has a compression set under 20% at 100 °C for 22 hours (ASTM D395, method B). A cheap one runs 30% or worse.
Here is the practical consequence. The cap compresses the septum by roughly 20 to 30% of its thickness when correctly torqued. If the material takes a permanent set of 30%, you lose most of that squeeze. The septum goes slack against the neck land, and now the seal depends only on the cap’s mechanical grip, which is exactly what thermal cycling erodes. A septum that measured fine at t=0 is leaking at t=8 hours because it has crept.
The temperature ceiling is lower than the datasheet says
Datasheets quote a maximum use temperature, often 200 °C for silicone. That is the material’s limit, not the seal’s limit. The seal starts losing compression set resistance well before that. I treat 70 °C as the practical ceiling for a standard silicone septum in a tray that cycles, and I move to a higher-grade silicone or a different cap system above that. If your autosampler tray sits at ambient and the lab air conditioning fails in July, you can hit 40 °C on the tray surface with the door closed. That is enough to accelerate creep on a marginal septum over a 16-hour run.
Measuring evaporation loss gravimetrically is the only test that settles the argument
You can argue about septum chemistry for a week. A balance settles it in an afternoon. The method is simple and I have never had it fail to discriminate between a good cap and a bad one.
The gravimetric loss protocol
- Fill vials to a defined, repeatable volume. I use 1.5 mL in a 2 mL vial, dispensed by pipette, not by eye. Weigh each filled, uncapped vial on a 0.1 mg balance and record.
- Cap to your production spec. For screw caps, use a torque driver set to the cap maker’s value (commonly 0.4 to 0.6 N·m for 9 mm screw caps; confirm against the cap datasheet). For crimp, use a crimper with a set jaw depth and check with a go/no-go gauge.
- Weigh the capped vial. The difference is your starting mass.
- Puncture each vial the number of times your method will (typically 1 to 3) using the actual autosampler needle, then return it to the tray.
- Run the tray at your real method temperature for your real run length. Weigh at t=0, 2, 4, 8, and 12 hours, or at the interval that matches your run.
- Plot cumulative mass loss against time. A well-sealed vial loses a few tenths of a milligram. A leaking one loses tens.
Acceptance is method-dependent, but I use a working rule: less than 0.5 mg loss over 12 hours at 25 °C for a methanol-based sample is a pass. Above 2 mg and you have a seal problem worth chasing. Between those, you are in the grey zone where concentration changes are real but small, and you should tighten the cap spec anyway.
What the curve shape tells you
A single leak path gives a near-linear mass loss. A cap that is backing off under thermal cycling gives a curve that accelerates, because the seal is degrading as it goes. A septum that re-sealed well after puncture gives a steep first hour (the headspace equilibrating) then a flat line. If your loss curve keeps climbing after hour two, the seal is not holding and the problem is mechanical, not diffusive. That distinction points you straight at torque or crimp.
Field case: the 18% internal standard drop was a torque spec, not a septum
Back to the Alliance run. We pulled the six failing vials, weighed them against a fresh set, and found the failing vials had lost an average of 3.8 mg over the run versus 0.3 mg for the controls. The loss curve accelerated after hour four, which told me the cap was loosening, not that the septum was diffusing. We checked torque on twenty vials from the same batch: the analyst was hand-tightening to roughly 0.15 N·m, well under the 0.45 N·m the cap called for. The tray heater cycling from 25 to 32 °C was enough to back off an under-torqued cap. Fix: a click-type torque driver at 0.45 N·m and a spot check of five vials per tray. The internal standard drift went away on the next run. No change to septum, no change to method.
This is the most common case I see, and it is why I tell people to buy a torque driver before they buy premium septa. The sample vial suppliers who publish a torque spec alongside the cap are the ones worth keeping.
Field case: crimp geometry cost us a batch of volatile analytes
A different lab running a headspace-adjacent GC method on crimp-top 11 mm vials saw early-eluting peak areas fall 25 to 30% across a 10-hour sequence. Septum was the usual silicone/PTFE. Gravimetric test showed 6 mg loss per vial over 10 hours, which is a blowout. The loss curve was linear, which pointed at a constant leak path. We measured crimp geometry with a go/no-go gauge and found the crimper jaws had worn: caps were seating at the shallow end of tolerance, so the septum was not being compressed against the neck land at all. The seal was cap-to-glass only. We replaced the crimper jaws, re-set the depth, and loss dropped to 0.4 mg. The lesson: a crimp that looks tight is not necessarily compressing the septum. Gauge it, do not eyeball it. The Restek technical resources have good crimp-dimension references if you need the tolerance numbers.
Decision table: matching cap, septum, and torque to the run
Use this to pick a starting configuration, then confirm with the gravimetric test. The numbers are working values I have validated across 9 mm and 11 mm formats; treat the torque as a starting point and confirm against your cap maker’s datasheet.
| Run condition | Cap format | Septum | Target torque / crimp | Expected 12 h loss (methanol, 25 °C) |
|---|---|---|---|---|
| Short run, under 4 h, aqueous | 9 mm screw | 1 mm silicone/PTFE | 0.40 N·m | < 0.3 mg |
| Overnight, 12 h, mixed solvent | 9 mm screw | 1 mm silicone/PTFE, compression set < 20% | 0.45 to 0.50 N·m | < 0.5 mg |
| Overnight, volatile analytes, > 50% MeOH | 11 mm crimp | 1 mm silicone/PTFE, higher-grade silicone | Go/no-go gauge, mid-tolerance | < 0.8 mg |
| Tray above 40 °C | 11 mm crimp or screw | High-temperature silicone, set < 15% | Per datasheet, re-checked after 4 h | < 1.0 mg, verify |
| Multi-puncture (3+) over long run | 9 mm screw | Pre-slit silicone/PTFE | 0.45 N·m | < 0.6 mg |
Two notes on the table. First, “pre-slit” septa are worth it when you puncture the same vial more than three times; the slit is manufactured cleanly and re-seals predictably, whereas a needle-made slit in a cheap septum does not. Second, the compression-set column is the one to interrogate your supplier on. If they cannot give you an ASTM D395 number, assume the worst.
A troubleshooting checklist that runs from cheapest to most expensive
When you suspect seal failure and evaporation, work this list in order. Each step costs less than the one after it.
- Weigh the vials. Gravimetric loss over the run length. This is the triage step and it takes an hour. If loss is under 0.5 mg, stop; the seal is fine and your drift is elsewhere.
- Check torque or crimp geometry. Torque driver on screw caps, go/no-go gauge on crimp. This catches the majority of cases and costs nothing if you already own the tools.
- Check the neck finish. Inspect the glass land under magnification for chips or check cracks. A cracked neck leaks regardless of cap.
- Check tray temperature. Log the actual tray temperature over a full run, not the setpoint. Thermal cycling is what backs off caps and accelerates creep.
- Change the septum grade last. Only after the mechanical checks pass do you spend money on a higher-grade septum or a different cap system.
This order matters because the instinct is to blame the septum first, and that is the most expensive fix. The Agilent consumables documentation and the Thermo Fisher sample handling pages both list torque and crimp specs for their cap systems; use them as your reference values rather than guessing.
What good looks like in a validated method, and where the standards actually reach the vial
If your method is validated under U.S. EPA SW-846 or a USP <621> system suitability framework, the vial is not explicitly in the method text, but the seal is. System suitability checks (resolution, tailing, RSD of replicate injections) will fail if the seal is losing the internal standard, and the failure will look like an instrument problem. The fix is to write the cap and septum into your SOP as a controlled item with a torque value and a septum grade, not as a consumable you reorder by part number. The chromatography products side of the supply chain can supply the same cap lot across runs, which is what you need to keep the seal behaviour consistent. And if you are qualifying a new supplier, ask for the compression-set data and a torque spec before you ask for the price. A supplier like Aijiren that publishes those numbers is easier to hold to a spec.
One more operational point. Re-seal behaviour degrades with every puncture, so if your method re-injects from the same vial more than three times, either move to pre-slit septa or split the sample across more vials. The loss is small per puncture but it compounds, and it compounds selectively toward your volatile analytes. That is how a method that passed suitability at 6 pm fails at 2 am.
The decision rule is this: before you change a septum, a cap, or a supplier, weigh the vial. If the gravimetric loss over your actual run length is under 0.5 mg, the seal is not your problem and you should look at the instrument. If it is over 2 mg, or the loss curve accelerates after hour two, the failure is mechanical (torque, crimp, or neck finish) and the fix is a torque driver or a crimper gauge, not a more expensive septum. Spend the money on the tooling first and the consumable grade second.
References & further reading
Related resources from our lab consumables network:
- Hplc Autosampler Vial at hplcautosamplervials.com
- Sample Vial at samplevialprice.com
- Chromatography Products at chromatographyselling.com
- Aijiren at aijirentech.com
External references and standards: