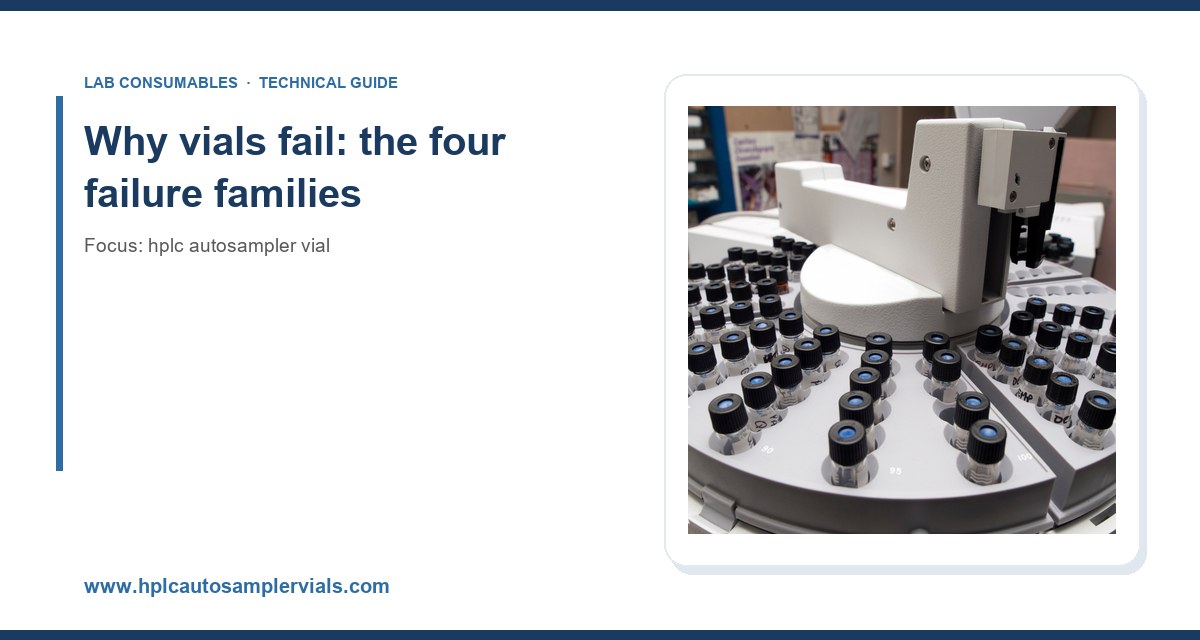
I still remember the Monday morning when a stability study went sideways. The autosampler had been running all weekend, and 40 percent of the injections showed peak area RSDs above 8 percent. The culprit was not the column, not the mobile phase, and not the detector. It was a batch of vials with crimp seals that had loosened just enough to let the sample evaporate. That experience, and a dozen like it since, taught me that most autosampler failures start long before the sample reaches the needle.
This article covers the failures I see most often in daily operation, what actually causes them, and the specific steps that prevent them. The numbers here are from my own logs and from published vendor specifications. Your mileage will vary with your instrument, but the failure modes are universal.
Every autosampler vial problem I have investigated falls into one of four families: seal integrity, dimensional mismatch, chemical incompatibility, and particulate contamination. Understanding which family you are dealing with cuts troubleshooting time by half. Most labs treat every bad injection as a column problem, which is why they waste money replacing columns that were never the issue.
Seal integrity failures
The septum is the weakest component in the entire flow path. It is pierced repeatedly, compressed by the cap, and exposed to whatever solvent you put in the vial. When it fails, you lose sample volume to evaporation, you introduce septa fragments into the needle, and you get carryover that no wash cycle can fix.
Crimp caps are the most reliable seal when done correctly, but “correctly” is doing a lot of work in that sentence. A proper crimp on a 11 mm aluminum seal requires a crimping tool set to the right jaw height. Too loose, and the seal leaks. Too tight, and you crush the septum, creating a channel that lets vapor escape. I have measured weight loss on loosely crimped vials at 3 to 5 mg per day at room temperature for a volatile solvent like methanol. Over a 48-hour run, that is enough to shift a concentration by several percent.
Snap caps eliminate the crimping variable but introduce their own failure mode. The polymer snap ring can deform after repeated handling, and I have seen snap caps that popped off mid-run when the autosampler tray vibrated. If you use snap caps, buy from a single lot and check retention force on a sample of 20 caps before committing a long run.
Dimensional mismatch
Not every 12 x 32 mm vial is the same. The nominal dimensions come from the GPI 12-425 thread standard for screw-thread vials, but the tolerances vary by manufacturer. Neck height, thread pitch, and bottom geometry all matter. An autosampler that grips the vial by the neck will drop a vial that is 0.3 mm short. A tray that positions by the bottom will misalign a vial with a slightly domed base.
The most common dimensional failure I see is a vial that sits too high in the tray, so the needle punctures the septum off-center. Off-center puncture increases coring risk dramatically. A needle that hits the septum edge instead of the center can shear a plug of silicone loose on the first injection. That plug then lodges in the needle or the injection port.
Chemical incompatibility
Standard borosilicate glass is fine for most HPLC work, but the septum and cap materials are where incompatibility bites. Natural rubber and silicone septa swell in contact with dichloromethane, toluene, and tetrahydrofuran. A swollen septum can push up into the needle path or extrude through the cap. I have pulled septa out of vials after a DCM run that had grown visibly and turned opaque.
For aggressive solvents, use PTFE-faced silicone septa or pure PTFE. PTFE has excellent chemical resistance but poor resealing after puncture. If you need repeated injections from the same vial, a PTFE-faced silicone laminate gives you the chemical resistance of PTFE on the sample side and the resealing of silicone underneath.
Particulate contamination
Glass vials are not particulate-free. Manufacturing residues, cardboard dust from shipping cartons, and septum fragments all contribute. A single glass shard from a chipped vial neck can block a needle with a 0.5 mm bore. I have seen labs filter mobile phase meticulously and then inject samples straight from a vial that had been sitting open on the bench for an hour.
A field guide to the most common failures
The table below is the checklist I hand to new analysts. It maps the symptom to the likely cause and the fix. Keep a printed copy near the instrument.
| Symptom | Likely cause | Preventive fix |
|---|---|---|
| Peak area RSD > 2% across a run | Septum leak, partial evaporation | Verify crimp jaw height; use PTFE-faced septa; cap within 5 minutes of filling |
| Needle blockage or high backpressure spike | Septum coring, glass fragment | Center the needle; inspect septum after 50 punctures; filter samples at 0.22 µm |
| Ghost peaks or carryover | Septum extractables, contaminated wash solvent | Use low-extractable silicone; replace wash solvent every 24 h; run blank vials |
| Autosampler “vial not found” error | Dimensional mismatch, deformed cap | Qualify each lot against the tray gauge; reject lots outside ±0.2 mm |
| Sample loss in long runs | Loose crimp, incompatible septum | Weigh-test 10 vials per lot; switch to PTFE laminate for volatile solvents |
Root causes, one by one
Septum coring and needle damage
Coring happens when the needle punches a plug out of the septum instead of slicing through it. The plug can be as large as 0.5 mm across. Once it enters the needle, it either blocks flow or gets injected onto the column. A blocked needle shows up as a pressure spike or a missing peak. An injected plug shows up as a ghost peak that appears in random runs.
The fix is mechanical. First, make sure the needle is sharp and undamaged. A dull needle tears rather than slices. Second, center the puncture. Third, choose a septum with the right hardness. Silicone septa in the 45 to 55 Shore A range resist coring better than softer formulations. Fourth, replace septa before they fail. I use a rule of 50 punctures maximum for a standard silicone septum and 100 punctures for a high-quality PTFE-faced laminate. Track punctures in your method SOP; do not rely on memory.
Needle gauge matters too. A 22-gauge needle (0.72 mm OD) creates a larger hole than a 26-gauge needle (0.46 mm OD). Larger holes reseal more slowly, which increases evaporation. If your method allows, use the smallest gauge that handles your sample viscosity.
Evaporation and concentration drift
Evaporation is the silent killer of long runs. A vial that sits in the autosampler for 12 hours at 25 degrees C with a poorly sealed cap will lose volatile components. I have measured concentration increases of 5 to 15 percent for a 1 mg/mL solution of a moderately volatile compound over 24 hours in a loosely capped vial. The same solution in a properly crimped vial with a PTFE-faced septum drifted less than 1 percent.
If your autosampler has a sample compartment chiller, use it. Setting the tray to 4 to 10 degrees C slows evaporation and reduces degradation for thermally labile compounds. But be aware that cold vials can condense moisture on the septum when removed, so let them equilibrate before re-injection.
Adsorption on glass
Some analytes stick to the silanol groups on the glass surface. Basic compounds, certain proteins, and hydrophobic peptides are the usual suspects. Adsorption shows up as low recovery on the first injection from a new vial and higher recovery on subsequent injections from the same vial, because the active sites get saturated.
The fix is surface treatment. Use silanized glass vials for basic compounds. For proteins and peptides, use low-binding polypropylene vials. I keep three vial types in stock: standard clear glass for general work, silanized amber glass for light-sensitive and basic compounds, and low-binding PP for biomolecules. The HPLC autosampler vial selection page on our site lists the surface treatments and their target applications.
Cap and thread failures
Screw caps fail in two ways: cross-threading and under-torquing. Cross-threading happens when the cap is started at an angle. It damages the thread on both the cap and the vial neck, and the resulting seal is unreliable. Under-torquing leaves a gap between the septum and the vial rim.
For 9 mm screw-thread vials, the recommended torque is 0.8 to 1.2 N·m. That is hand-tight plus a quarter turn. Do not use a wrench. For 11 mm crimp seals, the crimping tool should be adjusted so the seal sits flat against the vial shoulder with no rocking. Check the adjustment monthly with a go/no-go gauge.
Selection criteria that prevent failures before they start
Most failures I see could have been avoided at the purchasing stage. Here is the checklist I use when qualifying a new vial supplier or lot.
- Dimensional tolerance: Neck diameter within ±0.2 mm of GPI 12-425 nominal; overall height 32.0 ±0.3 mm; bottom flatness within 0.1 mm.
- Glass quality: USP Type I borosilicate for aqueous and pH-sensitive samples; Type II for general use. Check for visible chips at the neck.
- Septum specification: Silicone 45 to 55 Shore A for standard work; PTFE-faced silicone for aggressive solvents; pure PTFE for DCM and THF.
- Extractables: Request the vendor’s extractables data. Low-extractable septa reduce ghost peaks in sensitive LC-MS methods.
- Lot consistency: Qualify at least three lots before committing to a supplier. Measure 20 vials per lot with calipers.
- Certification: For regulated work, request a certificate of analysis with dimensional and extractables data.
I also recommend running a simple qualification test on every incoming lot. Fill 10 vials with a volatile solvent, crimp or cap them, weigh them, and reweigh after 24 hours at room temperature. A weight loss above 2 mg per vial per day signals a seal problem. This test takes 15 minutes and has caught more bad lots than any certificate ever did.
For labs that need a single source for vials, caps, septa, and the matching autosampler accessories, the sample vial catalog is a practical starting point. Buying vials and caps from the same manufacturer reduces the risk of dimensional mismatch between the two components.
Operational precautions that actually work
Sample preparation
Filter every sample at 0.22 µm before it goes into a vial. This single step eliminates most particulate failures. Use a syringe filter with a low-extractable membrane (PTFE or nylon) and discard the first 1 to 2 mL of filtrate to avoid membrane extractables.
Fill vials to no more than 75 percent of capacity. Overfilling can cause the septum to bulge when the cap is applied, and it increases the risk of the needle hitting liquid on aspiration. Underfilling increases the headspace and accelerates evaporation of volatile components.
Handling and storage
Do not touch the septum surface with bare fingers. Skin oils are extractables. Use powder-free gloves and handle vials by the body, not the cap. Store capped vials upright in a dust-free container. I have seen labs store vials in open cardboard trays next to a window, then wonder why they get ghost peaks in the summer.
For long-term storage, use vials with PTFE-lined caps and store at 4 degrees C. Bring to room temperature before injection to avoid condensation on the septum.
Autosampler maintenance
Clean the needle and injection port weekly with a suitable solvent. Replace the needle at the first sign of burring or bending. Check the tray alignment monthly with a calibration gauge. Replace wash solvent every 24 hours, or every 12 hours for high-throughput labs. A contaminated wash solvent is a common source of carryover that gets misdiagnosed as a column problem.
If you use a chilled tray, defrost and clean it monthly. Ice buildup can shift vial positions and cause “vial not found” errors. I have also seen condensation drip into open vials, which dilutes the sample and produces a low result that looks like a recovery problem.
Troubleshooting checklist
When a run goes bad, work through this list in order. Do not skip to the column until you have cleared the vial.
- Check the RSD pattern. Random RSD spikes point to vial or needle issues. A steady drift points to evaporation or degradation.
- Inspect the septum. Remove a vial from the tray and look at the puncture. An off-center or torn puncture means a needle alignment or septum hardness problem.
- Weigh-test a sample of vials. Five vials from the same lot, filled and capped, weighed at time zero and after 24 hours. More than 2 mg loss per vial per day means a seal problem.
- Run a blank vial. Inject a vial containing only mobile phase. Ghost peaks indicate septum extractables or contaminated wash solvent.
- Check the needle. Inspect under a magnifier for burrs. Replace if damaged.
- Verify tray alignment. Use the instrument’s calibration routine or a gauge. Misalignment causes off-center puncture and coring.
- Review the method. Check injection volume, needle gauge, and wash cycles against the vial and septum specifications.
- Qualify the lot. If the problem persists across multiple vials from the same lot, quarantine the lot and test a new one.
For method-specific guidance, the U.S. EPA SW-846 test methods include sample handling and preservation requirements that affect vial selection. The Restek technical resources have useful application notes on septa and vial selection for GC and HPLC. Vendor technical libraries from Agilent and Thermo Fisher also document instrument-specific tray and needle specifications that are worth checking against your vial dimensions.
Comparison: crimp vs. screw vs. snap caps
The cap format drives most seal failures, so it is worth a direct comparison. The numbers below are from my own qualification testing on 12 x 32 mm vials.
| Parameter | Crimp (11 mm) | Screw (9 mm) | Snap |
|---|---|---|---|
| Typical seal integrity (24 h, methanol) | < 1 mg loss | 1 to 2 mg loss | 2 to 4 mg loss |
| Max punctures before reseal failure | 50 to 100 | 50 to 75 | 25 to 50 |
| Tool required | Yes (crimper) | No | No |
| Reusability | No (single use) | Limited | Limited |
| Best for | Long runs, volatiles | General work, automation | Short runs, manual handling |
My recommendation: use crimp caps for any run longer than 12 hours or any sample containing a volatile analyte. Use screw caps for routine work where throughput matters and the run is under 8 hours. Use snap caps only for short manual workflows where seal integrity is not critical.
What I recommend in practice
Standardize on one vial and cap format per instrument, and qualify it thoroughly before you scale up. For most HPLC labs, that means 12 x 32 mm clear glass vials with 9 mm screw caps and PTFE-faced silicone septa. This combination handles the widest range of solvents, seals reliably for 8 to 12 hour runs, and does not require a crimping tool. Keep a separate stock of crimp vials for long stability studies and volatile methods.
Set up a lot qualification protocol and stick to it. Measure dimensions, run the weight-loss test, and inject a blank. Quarantine any lot that fails. Track septum puncture counts in your method SOP and replace septa on schedule rather than on failure. Train every analyst on cap torque and needle centering. These four steps have cut my vial-related failures by more than 80 percent over the past three years.
If you are sourcing vials for a multi-instrument lab, the chromatography products range and the Aijiren manufacturing line both publish dimensional and extractables data that make lot qualification easier. Ask for the data before you buy, and verify it when the shipment arrives.
Vial failures are predictable, and predictable problems are preventable. The septum, the cap, and the dimensions are the three variables that matter most. Control those, and the autosampler stops being the weak link in your workflow.
References & further reading
Related resources from our lab consumables network:
- Hplc Autosampler Vial at hplcautosamplervials.com
- Sample Vial at samplevialprice.com
- Chromatography Products at chromatographyselling.com
- Aijiren at aijirentech.com
External references and standards: