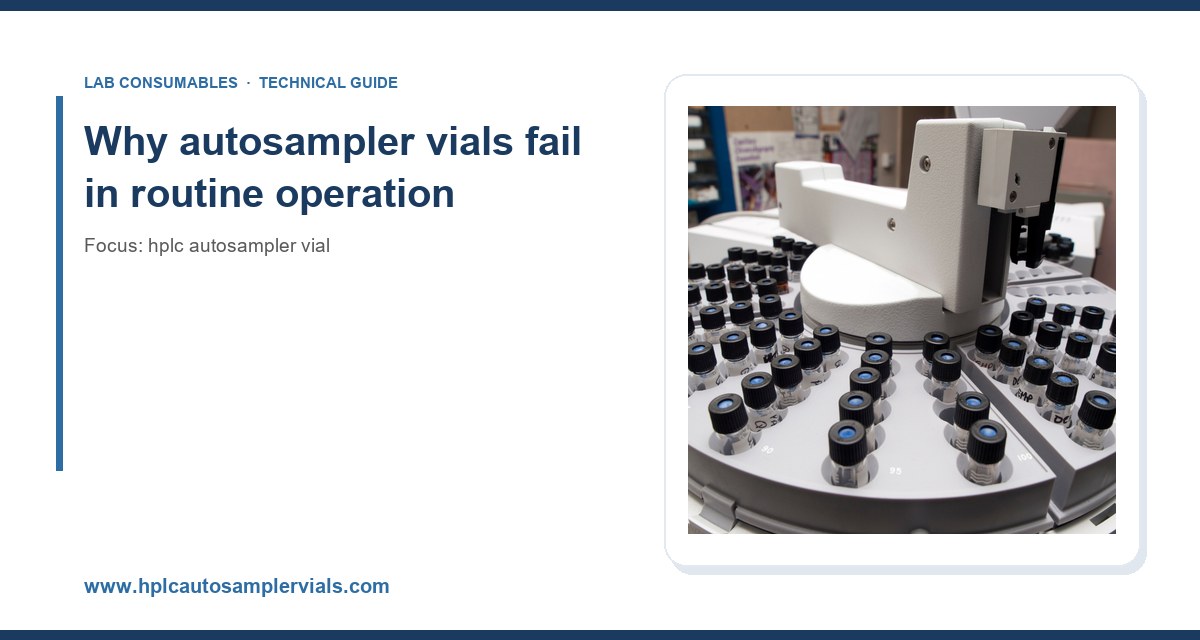
I have watched a sequence stall at 3:40 a.m. because a single vial in position 47 had a septum that was cut but not pierced, and the needle bent on the second injection. I have also seen a lab blame the autosampler for a week of 8% RSD values that traced back to caps tightened by hand at inconsistent torque. Vial failures rarely announce themselves as vial failures. They show up as bent needles, ghost peaks, carryover, or a run that dies halfway through the plate. Here is what actually goes wrong in daily use, why it goes wrong, and the numbers I use to keep it from happening.
The autosampler vial is a three-part system: glass body, closure, and septum. Each part has its own failure modes, and most of them interact. A vial that seals perfectly at 4 °C can leak at 10 °C. A septum that survives 50 punctures on a 12 mm cap can fail at 30 on a 9 mm cap because the needle strikes a smaller unsupported area. The autosampler itself is a precision mechanism that expects the vial to sit within a defined envelope: typically 32 x 11.6 mm for a standard 2 mL vial, with a neck OD of about 11 mm and a septum seated at a defined height. When any dimension drifts, the needle path drifts with it.
I separate failures into four buckets: mechanical (needle and septum), sealing (evaporation and leakage), chemical (adsorption and extractables), and dimensional (vial geometry and tray fit). Most labs fix the wrong bucket first because the symptom points at the instrument. In my experience, roughly 60 to 70% of “autosampler errors” that come through a service desk are actually vial or closure problems.
Mechanical failures: bent needles, coring, and septum damage
Septum coring and the particles it leaves behind
Every puncture removes a small plug of septum material. A good silicone/PTFE septum on a 2 mL vial with a 12 x 32 mm body should give you 50 to 100 clean punctures with a 22-gauge needle before coring becomes visible. A cheap or aged septum can core on the first hit. The plug then sits in the vial, and if it is small enough it gets aspirated into the needle and injected. That is where the mystery peak at 1.8 minutes comes from, and why your blank run suddenly has a shoulder on the solvent front.
Coring has three root causes. First, needle gauge and bevel: a 26-gauge needle with a long bevel cuts rather than parts the septum. Second, septum durometer: silicone below about 40 Shore A is soft and tears; above 55 Shore A it resists the needle and pushes back. Third, puncture location: if the needle does not hit the septum center within about 1.5 mm, it walks toward the aluminum crimp or the plastic cap edge and slices.
Prevention is straightforward. Use a septum rated for your needle count, log punctures per vial, and replace on schedule rather than on failure. For high-throughput methods running 96-well plates or 200+ injections per day, I use pre-slit septa or a septum with a bonded PTFE layer on the sample side. The PTFE face stops the silicone from contacting the sample, which also kills a common extractables problem I will cover below.
Bent needles and vial height errors
A bent needle is almost never a needle problem. It is a vial geometry problem. If the vial sits 0.5 mm too high in the tray, the needle hits the septum at an angle, deflects, and either bends or pierces the shoulder of the glass. The usual culprits are:
- Mixed vial lots. Two suppliers, two molds. A 12 x 32 mm vial from one vendor can be 0.3 to 0.6 mm taller than another. Over a 100-position tray, that variance is enough to cause intermittent errors.
- Warped or reused trays. Polypropylene trays creep at autosampler deck temperatures above 40 °C. After a year, the well depth changes.
- Wrong closure height. A crimp cap seated too high (crimp jaw worn) lifts the septum above the expected plane. A screw cap with a thick septa stack does the same.
- Vial not seated. A vial that sits on a fragment of broken glass or a dried droplet of mobile phase will not go to the bottom of the well.
I keep a go/no-go gauge on the bench: a machined block with a 32.00 mm slot and a 11.60 mm bore. Any vial that does not drop freely is rejected. It takes ten seconds per vial and has saved me more needles than any instrument PM.
Sealing failures: evaporation, leakage, and the 24-hour problem
Evaporation through a “sealed” septum
No septum is hermetic. Silicone is permeable to water vapor and to many volatile organics. A standard silicone/PTFE septum on a 2 mL vial left on the deck at 25 °C can lose 2 to 5% of a volatile solvent like methanol or acetonitrile in 24 hours. For a method that runs overnight, that is enough to shift retention times and change peak areas by more than the method’s acceptance criteria.
If your sequence runs longer than 8 hours, or your analytes are volatile, the fix is a septum with a thicker PTFE barrier (0.010 in / 0.25 mm rather than 0.005 in / 0.13 mm) and a cap that compresses the septum evenly. I also recommend a chilled tray at 4 to 10 °C for volatile work, but note that cooling increases the risk of condensation on the septum, which can drip into the vial when the needle pierces. Pre-slit septa reduce that drip because the slit vents.
Crimp versus screw thread: which closure actually seals
Crimp caps give the most consistent seal because the crimp tool sets the compression. A properly adjusted crimp on an 11 mm aluminum seal should give a flat, even skirt with no more than 0.2 mm of tilt across the cap. A worn jaw produces a cocked cap that leaks on one side. I check crimp quality every 200 vials with a visual and a simple twist test: a good crimp does not rotate on the vial.
Screw caps are more convenient and re-openable, which is why most labs use them. The failure mode is torque. Hand-tightened caps vary from 0.5 to 3.0 N·m between analysts. Under-tightening leaks; over-tightening deforms the septum and can crack the neck on the second use. I standardize at 1.2 to 1.5 N·m with a torque-limited driver, and I do not reuse screw caps more than once. The cap thread deforms after the first tightening, and the second seal is measurably worse.
For a side-by-side reference on closure types and their rated performance, the Sample Vial catalog at samplevialprice.com lists septum thickness and puncture ratings per cap style, which is more useful than the marketing sheet when you are matching a closure to a method.
Chemical failures: adsorption, extractables, and pH attack
Adsorption of polar analytes on untreated glass
Type I borosilicate glass has surface silanol groups that adsorb polar compounds. For basic analytes at low concentration, this is a real loss mechanism. I have measured 10 to 30% loss of a 10 ng/mL amine standard in an untreated vial within 2 hours, and the loss is worse at neutral pH. The fix is a deactivated glass surface: either a silanized vial or a vial with a bonded PTFE/silicone septum where the sample contacts only the inert face. For trace-level work, I do not use untreated vials for basic compounds, full stop.
Extractables from septum and cap
Silicone septa contain low-molecular-weight oligomers and curing agents. In a hot autosampler tray (some instruments run at 40 °C) or with an aggressive solvent, those leach into the headspace and then into the sample. The classic symptom is a series of evenly spaced peaks in the 2 to 6 minute region on a GC method, or a rising baseline on an LC method. The fix is a PTFE-faced septum on the sample side and a septum that is specified for the solvent class you use. Do not assume all silicone is the same: a pharmaceutical-grade septum has a lower extractables profile than an industrial one, and the certificate of analysis should state it.
pH and solvent attack on glass and closures
Borosilicate glass is fine for most HPLC work, but at pH above 9 and elevated temperature, glass leaches sodium and the surface etches. For ion-exchange or high-pH methods, use a vial rated for the pH range, or a plastic vial where appropriate. Aluminum crimp seals corrode in acidic headspace; I have seen the seal fail and the cap lift after a week on the deck with a 1% TFA mobile phase. If your method is acidic, use a coated or plastic cap.
Dimensional and tray-fit failures
The autosampler expects the vial to seat in the well within a tolerance of about ±0.2 mm in height and ±0.3 mm in diameter. Vials outside that envelope cause intermittent “vial not found” errors, which most labs chase as instrument faults. The common causes:
- Mold wear. A vial supplier running a worn mold produces vials with a bulge at the shoulder. Measure a sample from each lot with calipers at three points.
- Wrong vial for the tray. A 12 x 32 mm vial in a tray designed for 11 mm OD vials will jam. Check the tray part number against the instrument manual.
- Reused or damaged trays. Cracked wells let the vial tilt. Replace trays annually in high-throughput labs.
- Cap interference. Oversized caps (some 11 mm screw caps measure 11.4 mm OD) can rub the adjacent well on a 9 mm pitch tray. Measure the cap OD, not the vial OD.
For a full dimensional reference and vial selection matrix, the Hplc Autosampler Vial page at hplcautosamplervials.com covers the standard 12 x 32 mm, 9 mm, and 11 mm formats with the tolerances that matter for tray fit.
A troubleshooting checklist with concrete numbers
When a run fails, work through this list in order. It is faster than swapping parts.
Symptom: bent needle or “needle error”
- Measure 10 vials from the current lot for height (spec 32.00 ±0.20 mm) and OD (11.60 ±0.15 mm).
- Check crimp cap tilt (max 0.2 mm) or screw cap torque (1.2 to 1.5 N·m).
- Inspect the tray for cracked wells and debris.
- Verify the needle is straight with a straightedge; a bent needle compounds the next error.
Symptom: high RSD or drifting retention time
- Weigh a filled vial at t=0 and t=24 h. More than 2% mass loss means the septum is leaking; switch to a thicker PTFE barrier.
- Run a blank vial with only diluent. Peaks in the 2 to 6 minute region point to septum extractables.
- Check that the septum is PTFE-faced on the sample side. A reversed septum is a common assembly error.
- Confirm tray temperature is stable within ±0.5 °C; cycling causes condensation and volume change.
Symptom: ghost peaks or carryover
- Replace the septum: a cored septum holds sample in the plug and releases it on the next injection.
- Use a vial with a low-adsorption surface for polar analytes; untreated glass can lose 10 to 30% of a basic standard in 2 hours.
- Check the needle wash solvent volume and composition; a wash that does not match the sample solvent leaves residue.
Symptom: vial not detected
- Measure vial OD and height against the tray spec.
- Check for a vial seated on debris.
- Verify the tray is the correct part number for the instrument model.
Selection criteria: a decision checklist with numbers
When you specify a vial for a method, these are the parameters I would put on the requisition. Anything less and you are guessing.
- Format: 12 x 32 mm, 2 mL, 11 mm neck for standard autosamplers; 9 mm screw thread for high-throughput trays; confirm against the instrument manual.
- Glass: Type I borosilicate, USP <660> compliant, with a deactivated surface for polar or basic analytes.
- Septum: silicone with a 0.010 in (0.25 mm) PTFE face on the sample side for volatile or extractable-sensitive work; pre-slit for high puncture counts.
- Puncture rating: at least 50 punctures for a 22-gauge needle; log and replace at 80% of rating.
- Closure: crimp for the most consistent seal; screw cap with a torque driver at 1.2 to 1.5 N·m if re-opening is needed.
- Temperature rating: septum rated to at least 60 °C for warm trays; glass rated for the method pH (avoid pH above 9 without a rated vial).
- Tolerances: height 32.00 ±0.20 mm, OD 11.60 ±0.15 mm, cap OD within the tray pitch.
- Documentation: certificate of analysis with extractables data and lot traceability.
For method-specific guidance, the U.S. EPA SW-846 test methods and the Restek technical resources both publish vial and septum recommendations tied to specific analyte classes, which is more reliable than a generic catalog page. The Agilent chromatography consumables and Thermo Fisher sample handling documentation also list the dimensional envelopes their autosamplers expect, and those numbers are worth checking before you switch vial suppliers.
Prevention: the operational routines that actually work
Most of the failures above are preventable with three routines that cost almost nothing.
Incoming inspection. Sample 10 vials per lot and measure height, OD, and cap fit. Reject lots outside tolerance. This catches mold wear and supplier drift before it reaches the instrument.
Puncture logging. Tape a log sheet to the autosampler and record punctures per vial position. Replace at 80% of the rated count, not on failure. For a 50-puncture septum, that is 40 injections.
Torque and crimp verification. A torque driver for screw caps and a crimp gauge for aluminum seals. Check every 200 vials. This single step eliminated most of the sealing failures I used to see in overnight runs.
If you are standardizing across multiple labs, the Aijiren technical team publishes dimensional and septum specifications that make cross-site comparison possible, and the Chromatography Products catalog at chromatographyselling.com groups vials by instrument compatibility, which shortens the specification exercise considerably.
Takeaway
Autosampler vial failures are predictable, and almost all of them trace to one of four root causes: dimensional drift, septum damage, closure torque, or surface chemistry. Measure your vials, log your punctures, control your torque, and match the septum to the analyte. A lab that does those four things will spend its troubleshooting time on the chromatography, where it belongs, instead of on the vial.
References & further reading
Related resources from our lab consumables network:
- Hplc Autosampler Vial at hplcautosamplervials.com
- Sample Vial at samplevialprice.com
- Chromatography Products at chromatographyselling.com
- Aijiren at aijirentech.com
External references and standards: